The kitchen island has become the heart of many modern kitchens. It provides extra prep space, storage, seating, and even acts as a social hub. But what if your current island feels a little cramped? Don’t worry! Extending your existing island is a fantastic way to unlock its full potential and elevate your kitchen’s functionality and style. This guide will walk you through everything you need to know about extending your kitchen island, from choosing the right method to navigating the installation process.
Why Extend Your Island?
There are many reasons why extending your island might be the perfect solution for your kitchen:
-
Increased Workspace
More counter space means more room to spread out while prepping meals, baking, or entertaining.
-
Enhanced Storage
Add cabinets or drawers to the extension for storing pots, pans, appliances, or even a built-in wine rack or spice rack.
-
Breakfast Bar Creation
Extend your island to create a dedicated breakfast nook or casual dining area.
-
Improved Functionality
Integrate additional features like a sink, dishwasher, or trash compactor into the extended island.
-
Aesthetics
A larger island can add a sense of balance and grandeur to your kitchen, especially in open concept spaces.
Exploring Your Extension Options
Several creative approaches can add that valuable real estate to your island. Let’s delve into some popular ideas:
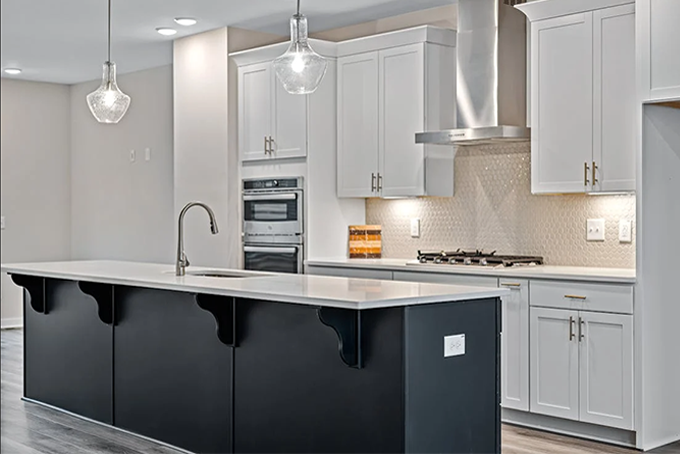
1. Adding Base Cabinets and Countertops
This is the most common and versatile option. You can build new cabinetry that seamlessly integrates with your existing island, matching the style and materials. This approach allows for additional storage options like drawers, shelves, or even an appliance garage.
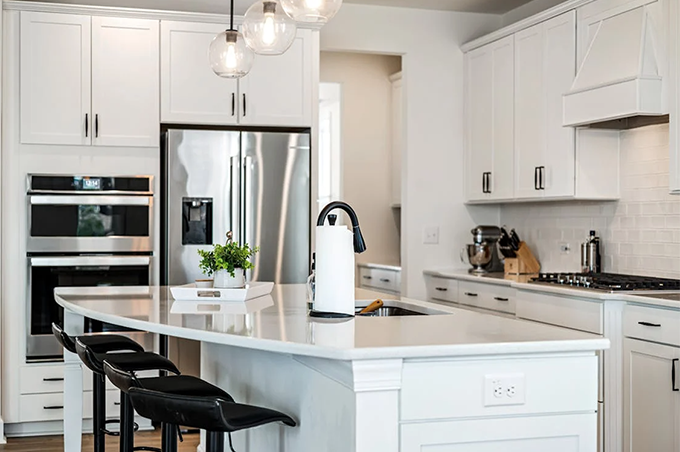
2. Cantilever Countertop
Embrace a sleek, modern look with a cantilevered countertop. This method extends the countertop beyond the base cabinets, creating an overhang supported by brackets or hidden corbels. Ideal for breakfast nooks or additional seating areas.
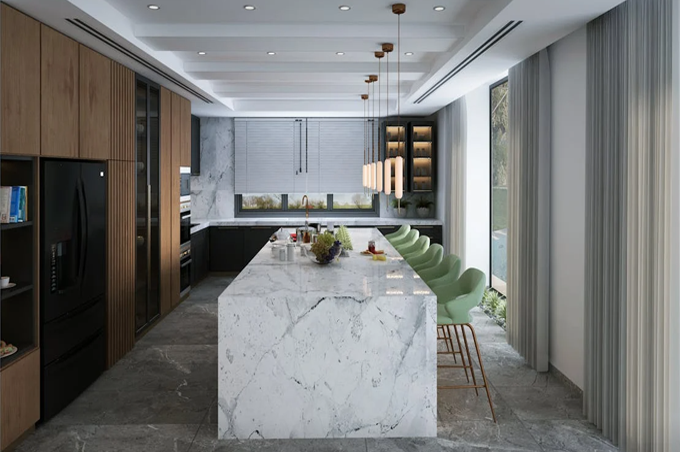
3. Waterfall Countertop
Create a dramatic statement piece with a waterfall countertop. This design extends the countertop material down the sides of the island, creating a visually stunning and seamless look.
4. Standalone Island Extension
Consider adding a separate mobile or stationary island that complements your existing one. This option offers flexibility and can be used for additional working space, a breakfast bar, or even a prep sink.
5. Butcher Block Extension
If you’re looking for a warm, rustic touch, consider extending your island with a butcher block countertop. This adds a unique character and provides a dedicated space for food preparation.
Planning and Considerations
Before diving headfirst into the project, careful planning is crucial. Here are some key aspects to consider:
1. Space Availability
Ensure there’s enough space to extend the island without creating a cramped feeling or obstructing traffic flow. Maintain a minimum of 36 inches of clearance between the island and countertops on opposite sides for comfortable movement.
2. Functionality
Define your goals for the extension. Do you need more storage, workspace, or a dedicated dining area? This will determine the design and functionality of the extension.
3. Material Selection
Match the existing material and style of your island cabinetry and countertops for a cohesive look. Consider options like wood, laminate, quartz, or granite.
4. Electrical and Plumbing Needs
If you plan to incorporate features like a sink, dishwasher, or additional outlets, ensure proper electrical and plumbing lines reach the extension area.
5. DIY vs. Professional Installation
While some extension methods like adding a butcher block top might be DIY-friendly, complex projects involving cabinetry and plumbing might require professional expertise.
The Installation Process
The specific installation process will vary depending on the chosen method. Here’s a general outline to give you a basic idea:
1. Demolition (if needed)
Depending on the extension method, you might need to remove existing trim or cabinetry to make way for the new additions.
2. Framing:
Build the foundation for the extension using dimensional lumber to create a sturdy frame.
3. Cabinetry Installation (if applicable):
Install new cabinets within the frame, ensuring proper alignment and leveling.
4. Countertop Installation
Connect the existing countertop to the new one, ensuring a seamless and level finish.
5. Plumbing and Electrical Work (if applicable)
Have a professional install any necessary plumbing or electrical lines for sinks, dishwashers, or outlets.
6. Finishing Touches
Install hardware like drawer pulls, cabinet doors, and trim. Apply sealant to any joints or seams.
Safety Tips
- Before starting, ensure you have accurate measurements of your kitchen and the island. Plan for adequate clearance around the island for safe movement and access to cabinets and appliances.
- Always wear safety goggles and gloves while working with power tools and materials.
- Ensure proper ventilation when cutting wood or using adhesives.
- Be cautious when dealing with electrical wiring and plumbing.
- Use the right tools and equipment for the job. This includes drills, screwdrivers, levels, and safety gear like gloves and safety glasses to protect yourself from injuries.
- Lift with your legs, not your back, when moving or positioning heavy components of the island. Use lifting straps or a dolly if necessary to minimize strain.
By following these safety tips, you can ensure that installing a kitchen island is a successful and safe project. If you’re unsure about any step of the process, consider consulting with a professional to assist you.
Conclusion
Extending your kitchen island can significantly enhance both the functionality and aesthetic appeal of your kitchen space. By carefully planning the design, considering your needs, and selecting appropriate materials, you can create a versatile hub that accommodates various activities from cooking to socializing. Whether you’re adding more countertop space, storage options, or seating areas, remember to prioritize safety during installation, ensuring all components are securely anchored and stable. With thoughtful execution and attention to detail, extending your kitchen island not only expands your culinary workspace but also adds value to your home, making it a more inviting and efficient environment for everyday living.